🪝Webhooks
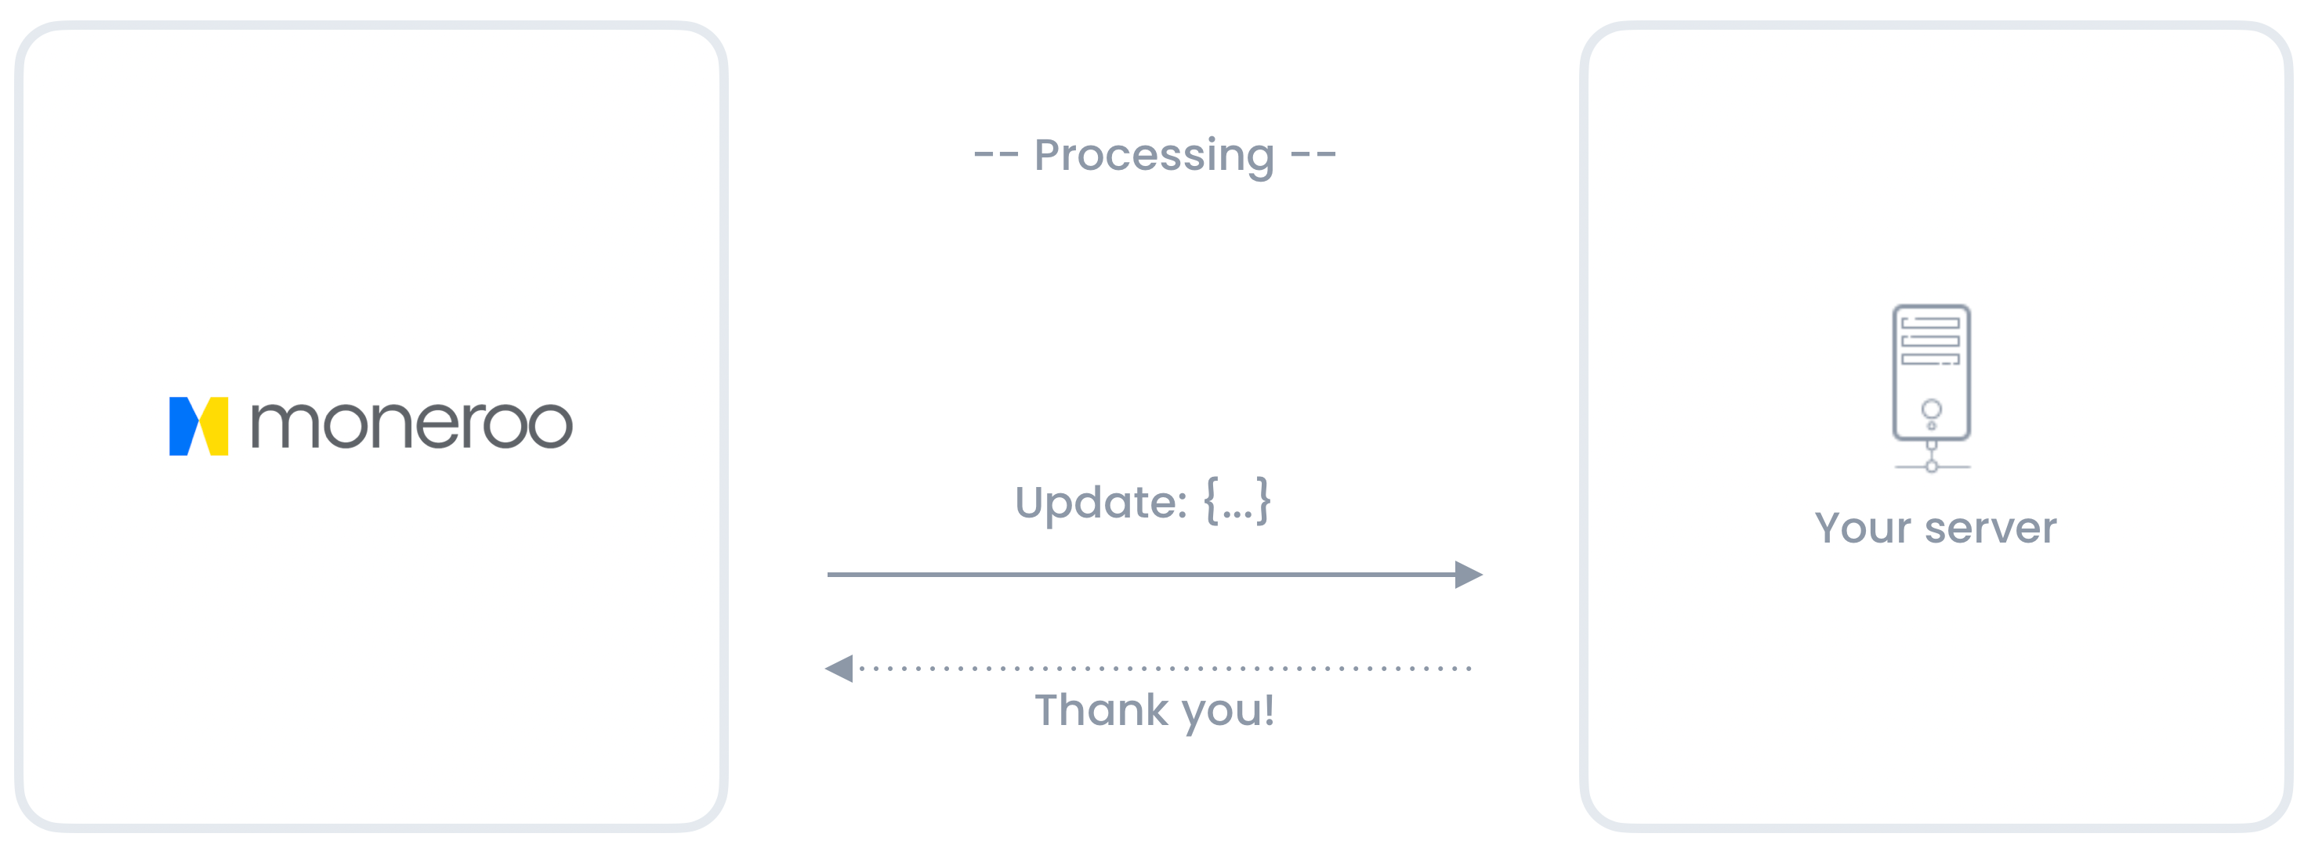
Webhooks facilitate real-time communication of status updates, like successful payment notifications. They are URLs that Moneroo calls to transmit the ID of an updated object.
Upon receiving the call, fetch the latest status and process it if there are any changes.
Introduction
Moneroo can dispatch webhooks to alert your application whenever an event occurs on your account. This is particularly useful for events such as failed or successful transactions. This mechanism is also beneficial for services not directly responsible for creating an API request but still requiring the response to that request.
You can specify the webhook URLs where you want to be notified. When an event happens, Moneroo sends you an object with all the details about the event via an HTTP POST request to the defined endpoint URLs.

Types of events
Here are the current events we trigger. More will be added as we extend our actions in the future.
Payment events
payment.initiated
Triggered when a new payment process begins.
payment.success
Triggered when a payment process completes successfully.
payment.failed
Triggered when a payment process fails.
payment.cancelled
Triggered when a payment process is cancelled.
Payout events
payout.initiated
Triggered when a payout process begins.
payout.success
Triggered when a payout process completes successfully.
payout.failed
Triggered when a payout process fails.
You can use these event names in your application to instigate specific actions whenever Moneroo emits these events.
Structure of a webhook
All webhook payloads follow a consistent basic structure, including two main components:
Event: The type of event that has occurred.
Data: The data associated with the event. The contents of this object will vary depending on the event, but typically it will contain details of the event, including:
an
idcontaining the ID of the transactiona
status, describing the status of the transaction payment, payout or customer details, if applicable
Example
We do not provide complete information through the webhook, so you'll need to fetch the latest status of the object.
Configuration
To configure webhooks, navigate to your app dashboard, access the Developers section, and click on the Webhooks tab.

There you can add a new webhook by clicking on the Add webhook button and filling in the form with the following details:
URL: The URL of the webhook.
Secret: The secret key used to sign the webhook payload.
The secret key is used to sign the webhook payload, enabling you to verify that the webhook originated from Moneroo.
You can add a maximum of 15 webhooks per application.
You can also enable, disable, or delete an existing webhook by clicking on the respective buttons.
The webhook is sent as a POST request to the URL you specify. The request body contains JSON, detailing the event that occurred. Ensure your endpoint can accept POST requests and parse JSON payloads.
Receiving a Webhook
When Moneroo sends a webhook to your URL, it includes a JSON payload detailing the event. For example, here's a payload for the payment.success event:
You can use the event field in the payload to determine the action your application should take.
To acknowledge the receipt of a webhook, your endpoint must return a 200 HTTP status code. Any other response codes, including 3xx codes, will be treated as a failure. We do not consider the response body or headers.
If your endpoint doesn't return a 200 HTTP status code or doesn't respond within 3 seconds, we'll retry the webhook up to 3 times with a 10-minute delay between each attempt.
Web frameworks like Rails, Laravel, or Django typically check that every POST request contains a CSRF token. While this is a useful security feature protecting against cross-site request forgery, you'll need to exempt the webhook endpoint from CSRF protection to ensure webhooks work (as demonstrated in the examples below).
Verifying a Webhook
When you receive a webhook, you should verify its origin. Each webhook request includes a X-Moneroo-Signature header. The value of this header is a signature generated using your webhook signing secret and the webhook's payload.
To verify the signature, you'll need to compute the signature on your end and compare it to the X-Moneroo-Signature header's value.
The signature is computed using HMAC-SHA256 with the webhook signing secret as the key and the payload as the value.
If the signature is valid, respond with a 200 OK status code. If it's not valid, respond with 403 Forbidden.
Examples
Please replace 'your_webhook_signing_secret', 'your_payload' and 'header_value' with your actual values. For the Node.js, Java, and Go examples, you need to get the request body and header values from your HTTP request object.
Webhook Best Practices
Don't Rely Solely on Webhooks: Make sure you have a backup strategy like a background job that checks for the status of any pending transactions at regular intervals. This can be useful in case your webhook endpoint fails or you haven't received a webhook in the following seconds.
Use a Secret Hash: Your webhook URL is public, anyone can send a fake payload. We recommend using a secret hash to authenticate requests.
Always Re-query: Verify received details with our API to ensure data integrity. For example, upon receiving a successful payment notification, use our transaction verification endpoint to verify the transaction status.
Respond Quickly: Your webhook endpoint must respond within a certain time limit to avoid failure and retries. Avoid executing long-running tasks in your webhook endpoint to prevent timeouts. Respond immediately with a 200 status code if successful, and then perform any long-running tasks asynchronously.
Handle Duplicates: Webhooks may be delivered more than once in some cases. For example, if we don't receive a response from your endpoint, we'll retry the webhook. Make sure your endpoint can handle duplicate webhook notifications.
Handle Failures: If your endpoint fails, we'll retry the webhook up to 3 times with a 10-minute delay between each attempt. If all attempts fail, we'll stop retrying and mark the webhook as failed. You can view failed webhooks in your dashboard.
Last updated
Was this helpful?